Cute Bubble Letters Easy Step-by-Step Guide for Beginners
Cute bubble letters are playful, rounded, and eye-catching styles of writing that make any text look fun and creative. People use them in art, school projects, posters, social media, and even digital designs. If you want to learn how to draw and use cute bubble letter, this guide will help you step by step in simple English.
Must Read: G in Bubble Letters Easy Step-by-Step Guide for Beginners
What Are Cute Bubble Letters?
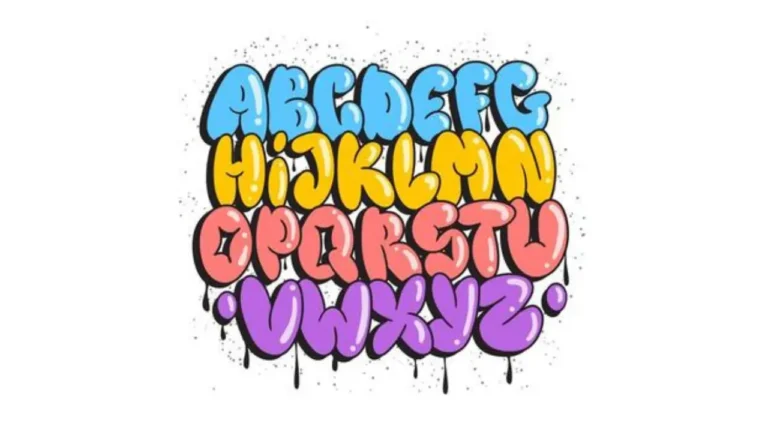
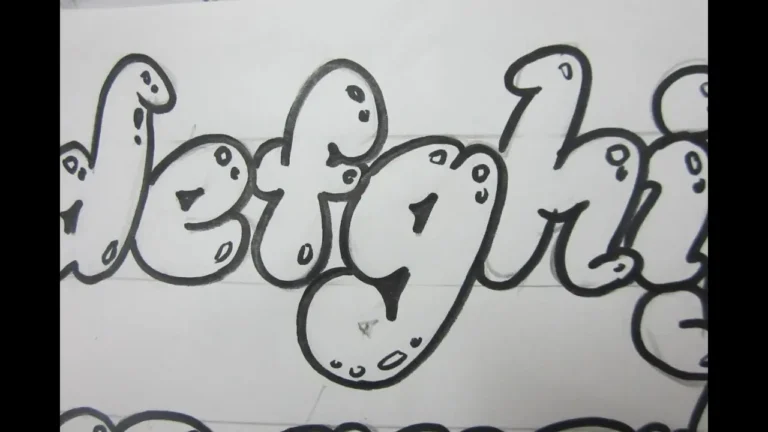
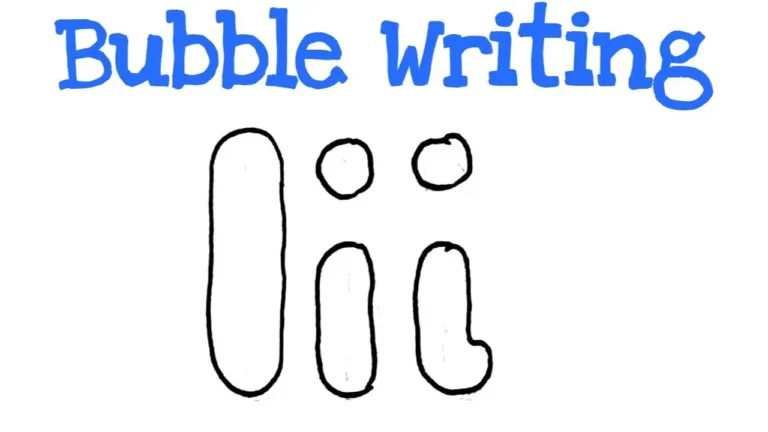
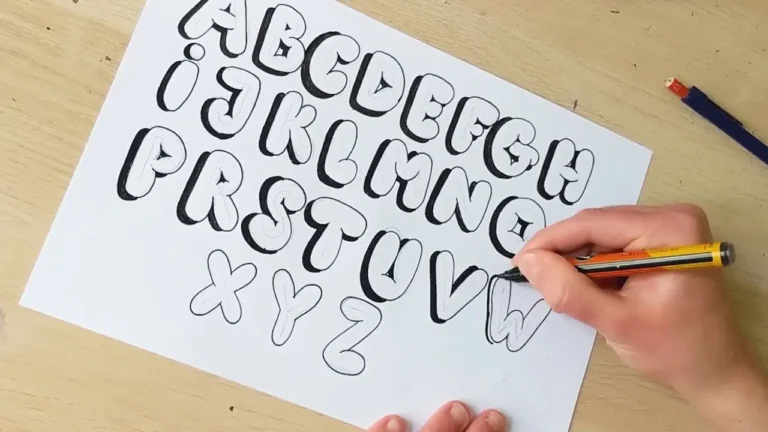
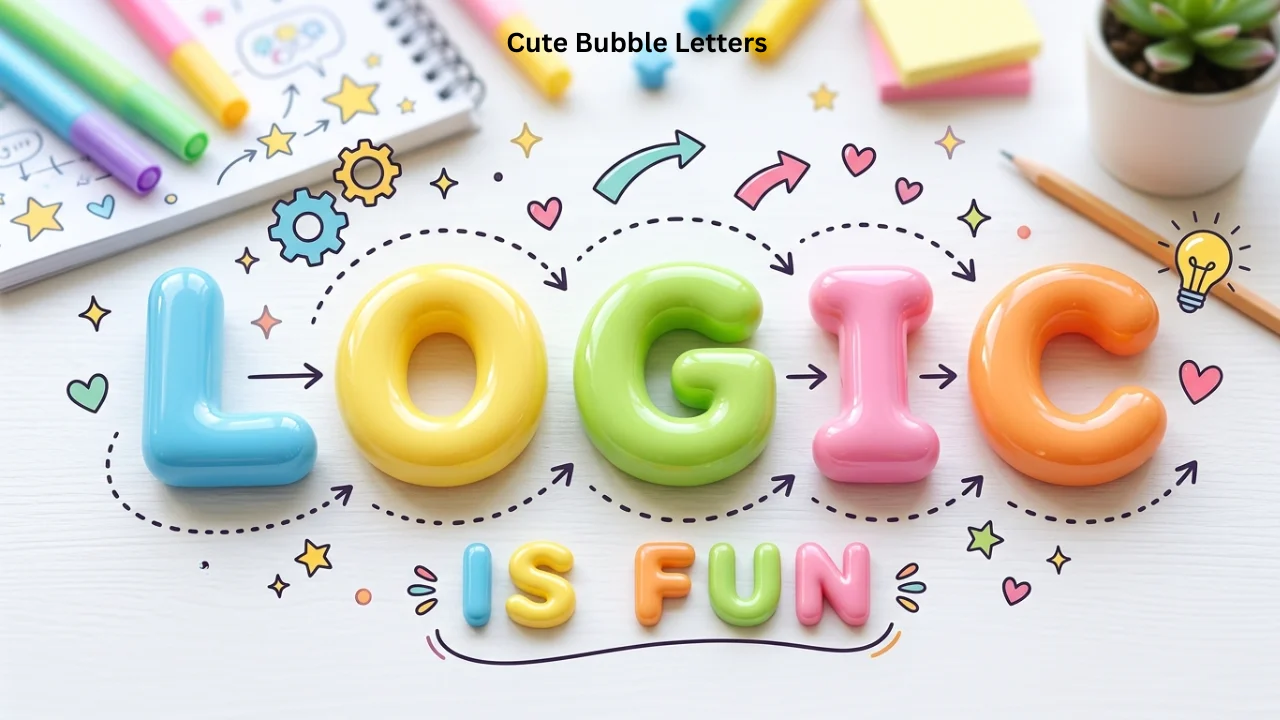
Cute bubble letter are thick, rounded letters that look soft and puffy, like bubbles. Unlike regular fonts, they have smooth curves and often include fun details like hearts, stars, or smiley faces. These letters are popular because they are easy to draw and look friendly.
Artists, students, and beginners love this style because it does not require advanced drawing skills. You just need a pen, paper, and a little creativity.
Why Are Cute Bubble Letter So Popular?
There are many reasons why people enjoy using cute bubble letter:
- They look fun and attractive
- They are easy to learn
- They work well for kids and adults
- They fit many creative projects
- They improve handwriting and drawing skills
Most importantly, they help you express your personality in a creative way.
Basic Structure of Bubble Letters
Before you start drawing, you need to understand the basic structure. Bubble letters follow a simple pattern:
| Step | Description | Tip |
|---|---|---|
| Outline | Draw a simple letter shape | Keep it light with a pencil |
| Expand | Add thickness around the letter | Make curves smooth |
| Connect | Round all sharp edges | Avoid straight corners |
| Finalize | Trace with pen or marker | Use bold lines |
Always start with simple shapes before adding details.
How to Draw Step by Step
Learning to draw cute bubble letter is easy if you follow these steps:
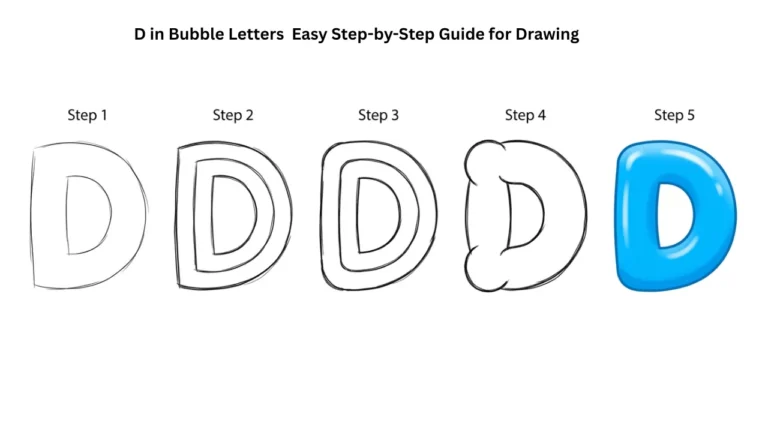
Step 1: Draw Basic Letters
Start with normal alphabet letters using a pencil. Keep them simple and clear.
Step 2: Add Thickness
Draw a second line around each letter. This creates the “bubble” effect.
Step 3: Round the Edges
Turn sharp corners into smooth curves. This makes the letters look soft and cute.
Step 4: Clean the Outline
Erase extra lines and trace your final shape with a marker.
Step 5: Add Cute Details
Decorate with hearts, sparkles, stars, or smiley faces.
Practice daily to improve your style quickly.
Styles
| Style | Features | Best Use |
|---|---|---|
| Classic Bubble | Thick and rounded | School projects |
| Cartoon Style | Faces and expressions | Kids’ art |
| 3D Bubble | Shadow and depth | Posters |
| Graffiti Bubble | Bold and stylish | Street art |
| Decorative Bubble | Patterns inside letters | Cards and crafts |
Trying different styles helps you find your own creative voice.
Tools You Can Use
You do not need expensive tools to create cute bubble letter. Start with basic items:
- Pencil and eraser
- Black marker
- Colored pens or pencils
- Sketchbook
If you work digitally, you can use drawing apps with stylus support.
Simple tools can still create amazing results.
Coloring Ideas for Bubble Letters
Color plays a big role in making your letters stand out. Here are some ideas:
- Use bright colors like pink, blue, and yellow
- Add gradients for a smooth look
- Try rainbow effects
- Use patterns like dots or stripes
- Add shadows for depth
Coloring adds life and personality to your artwork.
Common Mistakes to Avoid
When learning cute bubble letter, beginners often make these mistakes:
| Mistake | Problem | Solution |
|---|---|---|
| Uneven lines | Letters look messy | Draw slowly |
| Sharp edges | Not “bubble-like” | Focus on curves |
| Too much detail | Overcrowded design | Keep it simple |
| Wrong spacing | Letters overlap badly | Plan layout first |
Avoiding these mistakes will improve your results quickly.
Creative Uses
You can use cute bubble letter in many creative ways:
- School assignments and charts
- Birthday cards and invitations
- Posters and banners
- Journals and diaries
- Social media graphics
They are perfect for making your content more engaging and fun.
Tips to Improve Your Skills
If you want to master cute bubble letter, follow these simple tips:
- Practice daily for 10–15 minutes
- Copy styles from references
- Experiment with different shapes
- Keep your strokes smooth
- Stay patient and consistent
Practice is the key to improvement.
Advanced Techniques
Once you learn the basics, you can try advanced techniques:
Add Shadows
Draw a light shadow behind the letters to create depth.
Create 3D Effects
Extend parts of the letters to make them look three-dimensional.
Blend Colors
Use two or more colors to create a gradient effect.
Add Highlights
Leave small white spaces to show light reflection.
These techniques make your cute bubble letters look more professional.
Difference Between Bubble Letters and Other Fonts
| Feature | Bubble Letters | Regular Fonts | Calligraphy |
|---|---|---|---|
| Shape | Rounded | Straight or mixed | Flowing |
| Style | Playful | Formal or simple | Elegant |
| Difficulty | Easy | Very easy | Medium to hard |
| Use | Creative work | Daily writing | Art and design |
Bubble letters are the most fun and beginner-friendly style.
Must Read: Alphabet Bubble Letters Easy Steps, Styles & Tips for Beginners
Who Can Use
Anyone can use cute bubble letter, including:
- Students
- Teachers
- Artists
- Designers
- Kids and beginners
You do not need any special training to start.
Benefits of Learning Bubble Lettering
Learning cute bubble letter offers many benefits:
- Improves creativity
- Builds drawing confidence
- Enhances handwriting skills
- Reduces stress
- Encourages artistic thinking
It is both fun and relaxing at the same time.
Conclusion
Cute bubble letters are a simple yet powerful way to make your writing look fun and creative. They are easy to learn, require basic tools, and suit all ages. By practicing regularly and trying different styles, you can quickly improve your skills and create beautiful designs.
Whether you use them for school, art, or personal projects, cute bubble letter will always make your work stand out. Start today, stay consistent, and enjoy the creative process.