How to Do Bubble Letters Easy Step-by-Step Guide for Beginners
Learning how to do bubble letters is a fun way to make normal writing look bold, creative, and eye-catching. These rounded letters work well for posters, school projects, birthday cards, notebooks, signs, and digital artwork.
Bubble lettering does not require advanced drawing skills. With a pencil, paper, and a little practice, beginners can create smooth and attractive letters in only a few simple steps.
What Are Bubble Letters?
Bubble letters are large, rounded letters that look inflated like balloons. Artists usually create them by drawing a thick outline around a normal letter and then removing or hiding the original guide.
Unlike standard handwriting, bubble lettering focuses more on shape and style. Letters usually have soft curves, thick edges, and enough empty space inside them to remain easy to read.
Materials You Need for Bubble Lettering
You do not need expensive art supplies to start learning. A basic pencil and sheet of paper are enough for your first practice session.
You can also use an eraser, black marker, colored pencils, crayons, or highlighters. A ruler can help when you want all letters to have a similar height and position.
Alphabet Bubble Letters Easy Steps, Styles & Tips for Beginners
How to Do Bubble Letters Step by Step
The easiest way to understand how to do bubble letters is to start with a simple capital letter. Write the letter lightly with a pencil so you can erase it later.
Next, draw another line around the outside of the original letter. Keep some space between the guide letter and your new outline so the shape looks thick and rounded.
Connect the outer lines smoothly at each corner. Avoid sharp edges because rounded curves create the classic bubble effect.
Once the shape looks right, erase the original letter inside. You should now have a clean, thick bubble letter ready for outlining or coloring.
Start With Easy Capital Letters
Capital letters are usually easier for beginners because their shapes are larger and simpler. Letters such as A, B, C, D, O, P, and S are good options for early practice.
Start by writing each letter larger than your normal handwriting. Large letters give you more space to create smooth curves and make corrections.
When practicing how to do bubble letters, focus on one letter at a time instead of writing a complete sentence. This method helps you understand how different letter shapes work.
Keep the Letter Width Consistent
Consistent thickness can make bubble lettering look cleaner and more professional. Try to leave approximately the same distance between the original letter and the outer outline.
You do not need perfect measurements. Simply look at each side of the letter and adjust areas that appear much thinner or thicker than the others.
Cute Bubble Letters Easy Step-by-Step Guide for Beginners
With regular practice, your hand will naturally create more balanced outlines. This skill will also help when you begin writing complete words.
Make the Corners Soft and Rounded
Rounded corners are one of the most important features of bubble lettering. Hard or pointed corners can make the design look more like block lettering.
Imagine that every letter has been filled with air. This idea can help you understand where to add curves and where to make the shape wider.
If you are learning how to do bubble letters, try drawing slowly at first. Smooth lines are easier to create when you avoid rushing through the outline.
How to Connect Bubble Letters in Words
Once you feel comfortable drawing individual letters, try placing several letters together. Write the complete word lightly before adding the bubble outlines.
Leave enough space between each guide letter. If letters sit too close together, their thick outlines may overlap and make the word difficult to read.
You can also allow some letters to touch slightly for a playful effect. Just make sure the final word remains clear and easy to understand.
Add Shadows for a 3D Effect
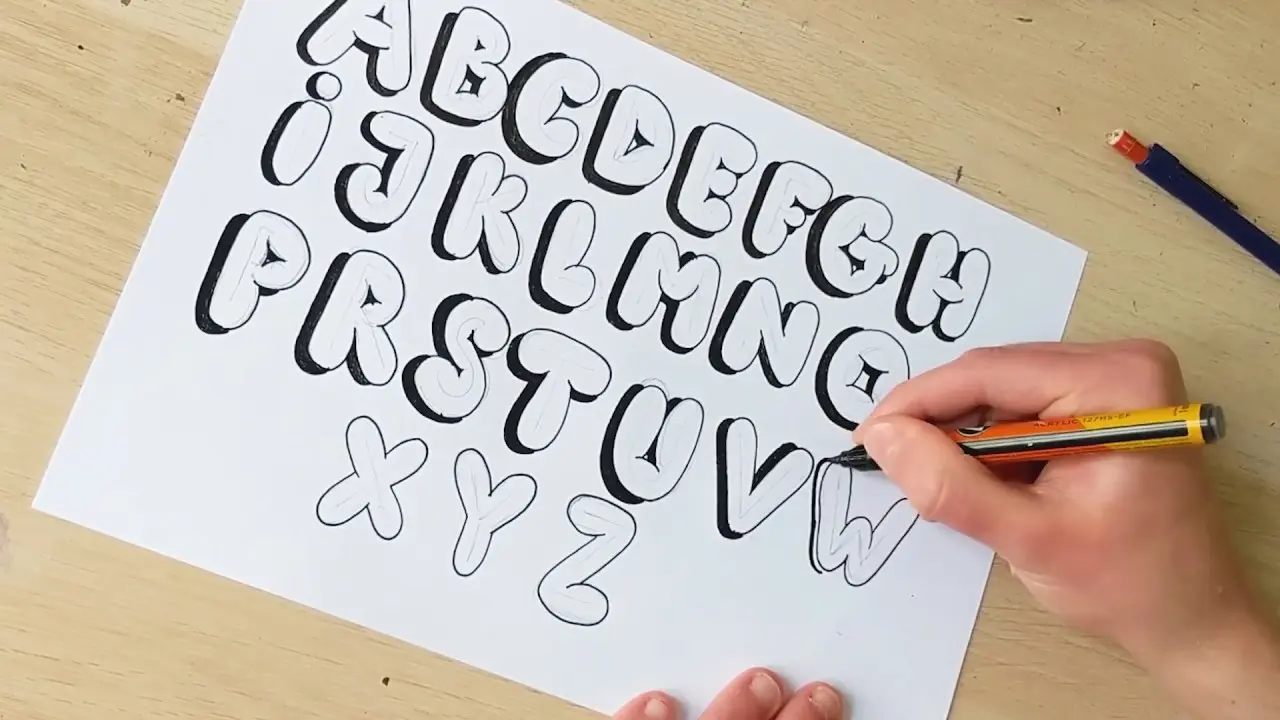
Shadows can make bubble letters appear deeper and more realistic. Choose one direction, such as the lower-right side, and add a dark line or shaded area there.
Keep the shadow direction consistent across every letter. Changing the shadow direction can make the design appear uneven.
People practicing how to do bubble letters can begin with simple black shadows before trying more advanced 3D effects. Even a small shadow can make a major visual difference.
Add Highlights Inside the Letters
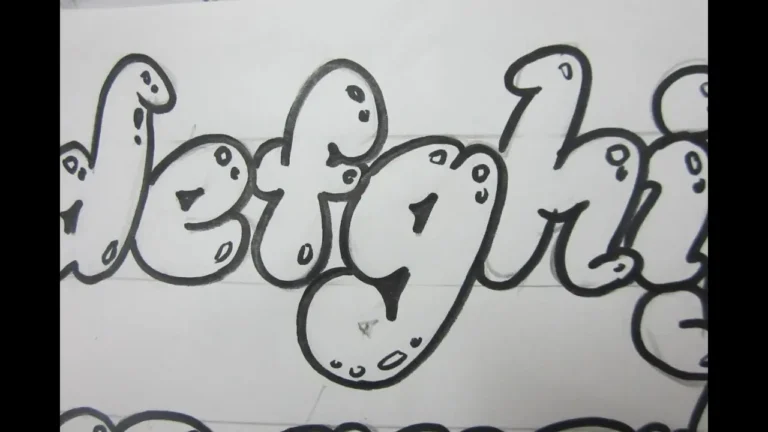
Highlights make bubble lettering appear shiny and inflated. Draw a small white oval, curved line, or circle near the same corner of each letter.
Do not make the highlights too large. Small highlights usually create a cleaner appearance and keep the main letter color visible.
This technique works especially well when you use dark or bright colors. Combining highlights with shadows creates a stronger three-dimensional look.
Color Your Bubble Letters Creatively
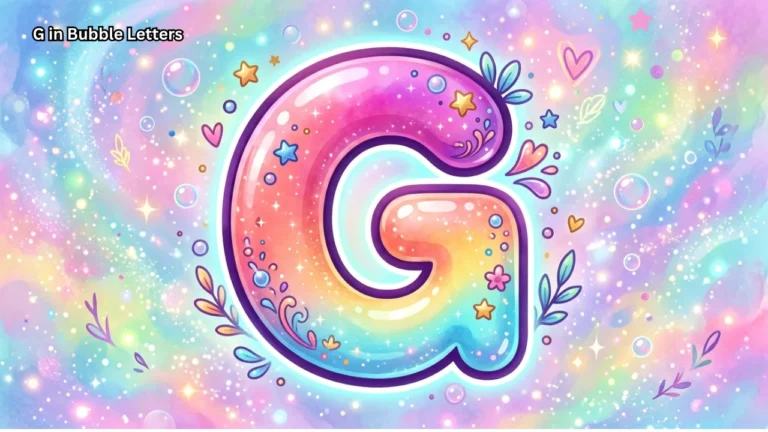
Color can completely change the style of your lettering. You can use one solid color or combine several shades for a more decorative design.
Try using a darker shade near the bottom and a lighter shade near the top. This simple gradient effect can make the letters look soft and polished.
You can also add dots, stars, stripes, hearts, or small patterns inside the letters. These details work well for posters, names, greeting cards, and school artwork.
Common Bubble Letter Mistakes to Avoid
Many beginners create outlines that are too close to the original guide. This problem can make letters look thin rather than soft and inflated.
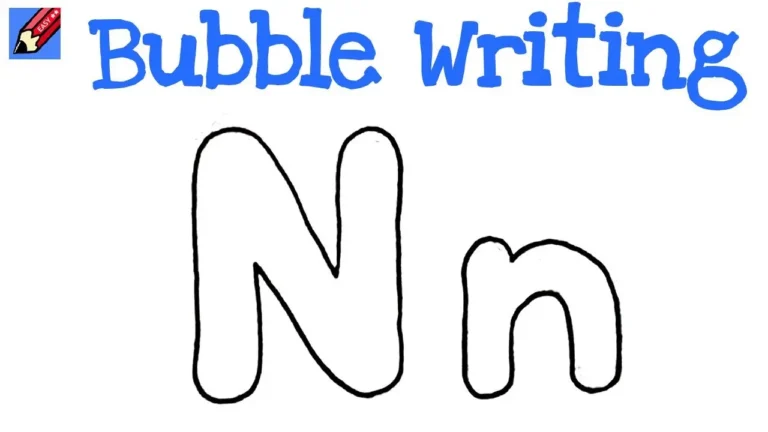
Another common mistake involves using sharp corners instead of smooth curves. Pay special attention to corners when practicing how to do bubble letters on letters such as M, N, V, and W.
Avoid pressing your pencil too hard during the first stage. Light guidelines are much easier to erase after you complete the final outline.
Bubble Letters for Different Projects
Bubble lettering works well for many creative projects. Students often use it for school posters, classroom displays, notebook covers, and project headings.
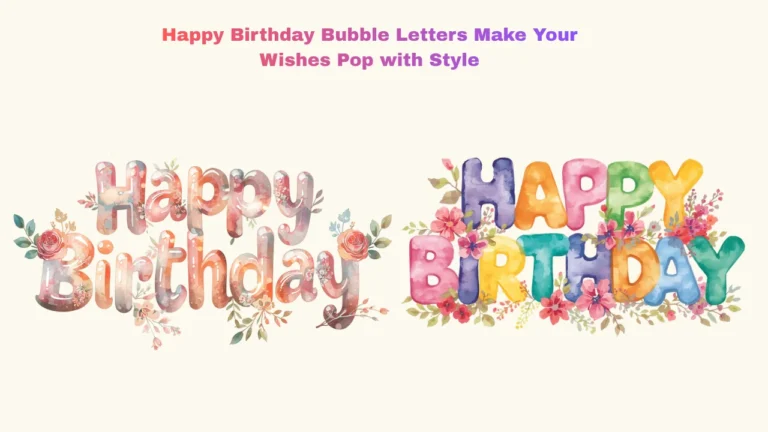
You can also use bubble letters for birthday cards, banners, handmade signs, social media graphics, and personalized artwork. Changing the colors and patterns allows the same lettering style to match many themes.
Digital artists can use the same basic process with drawing software. Create a guide letter, add a rounded outline, remove the guide, and then apply colors, shadows, or highlights.
Tips for Improving Your Bubble Letter Skills
Practice is the best way to improve your lettering. Spend a few minutes drawing different letters each day rather than trying to master the entire alphabet at once.
When learning how to do bubble letters, compare your letters and notice which shapes look uneven. Redrawing difficult letters several times will help improve your control.
You can also create your own alphabet practice page. Draw each letter from A to Z and experiment with different widths, shadows, colors, and decorative styles.
Can You Make Lowercase Bubble Letters?
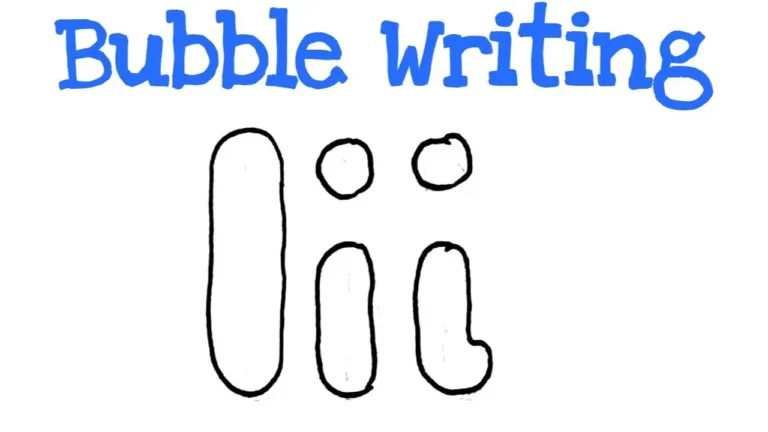
Yes, lowercase letters can also work well in a bubble style. Start with your normal lowercase handwriting and add thick rounded outlines around each character.
Lowercase letters may require extra care because some have small loops or narrow spaces. Letters such as a, e, g, and p should have enough open space to remain readable.
Try both uppercase and lowercase styles to discover which design suits your project. Mixing them carefully can also create a playful handwritten appearance.
Final Thoughts
Understanding how to do bubble letters becomes much easier when you break the process into simple steps. Start with a light guide, draw a thick rounded outline, erase the guide, and finish the design with color, shadows, or highlights.
You do not need perfect drawing skills to create attractive lettering. Regular practice will help you develop smoother curves, balanced shapes, and your own unique bubble letter style.