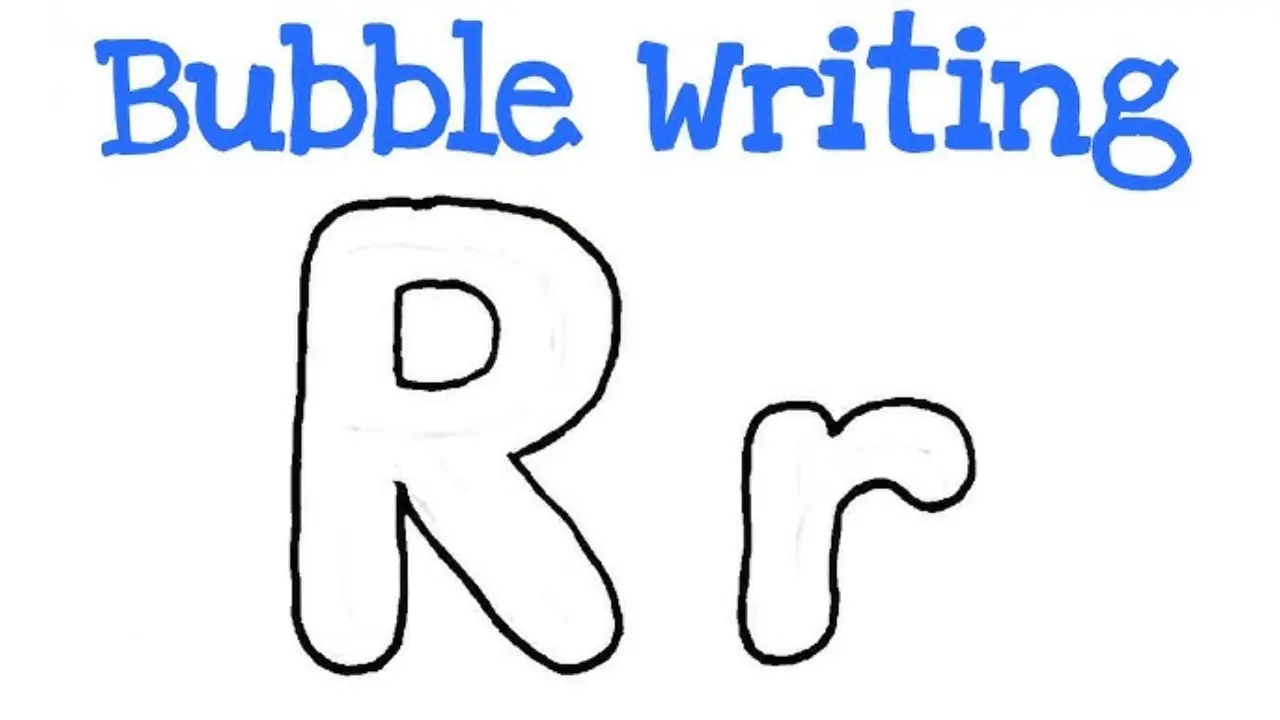
Bubble Letters R Easy Ways To Draw A Fun Bubble R
Learning how to draw bubble letters r is a fun way to make ordinary writing look bold, creative, and playful. The letter R has a round top and a diagonal leg, which gives you many ways to turn it into an eye-catching bubble design.
You do not need professional drawing skills to get started. With a pencil, paper, eraser, and a little practice, you can create a smooth bubble R for posters, school projects, names, cards, and artwork.
What Are Bubble Letters?
Bubble letters are large, rounded letters that look soft and inflated. Instead of using thin lines like normal handwriting, artists create thick outlines around each letter.
The style became popular because it is simple and highly customizable. You can leave the inside blank or add colors, shadows, patterns, highlights, and small illustrations.
Bubble lettering works especially well for headings and short words. The thick shapes help important text stand out from the rest of a design.
Why Bubble Letters R Can Be Fun to Draw
Drawing bubble letters r can be interesting because the letter combines curved and straight shapes. The upper part usually has a rounded loop, while the lower part includes a leg that moves outward.
This structure gives artists plenty of creative freedom. You can make the letter wide and soft, tall and narrow, or slightly tilted for a more energetic appearance.
The letter can also work with many themes. A simple R can become a rainbow letter, graffiti design, cartoon character, floral pattern, or 3D drawing.
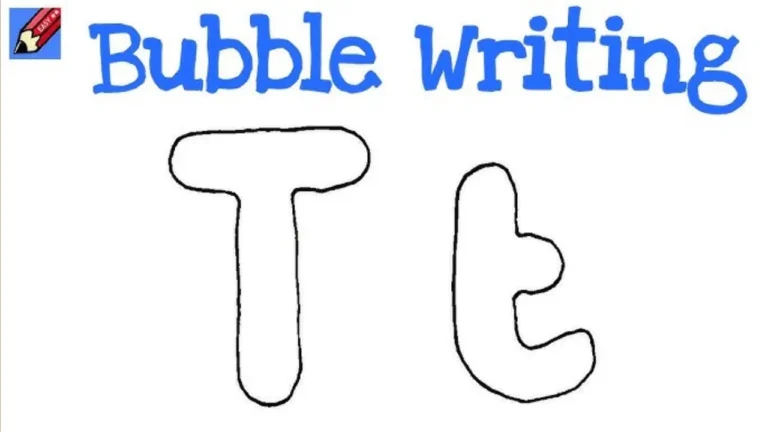
Cute Bubble Letters Easy Step-by-Step Guide for Beginners
Materials You Need to Draw a Bubble R
You only need a few basic materials to start. A pencil is useful because it allows you to erase lines and correct the shape before adding permanent details.
Paper, an eraser, and a black marker are enough for a basic design. Colored pencils, crayons, gel pens, or markers can help you decorate the finished letter.
Beginners should start with plain paper. Once you understand the basic shape, you can experiment with sketchbooks, cards, posters, or digital drawing apps.
How to Draw Bubble Letters R Step by Step
The easiest way to create bubble letters r is to begin with a normal capital R. Draw it lightly with a pencil so that you can use it as a guide.
Next, draw a thick outline around the original letter. Keep some space between your guide and the new outline so the letter develops a wide, inflated appearance.
Round the corners instead of making sharp edges. Pay special attention to the upper loop and diagonal leg because these parts define the R shape.
Once you like the outline, erase the original guide lines. Trace the final shape with a darker pencil or marker to make it clean and easy to see.
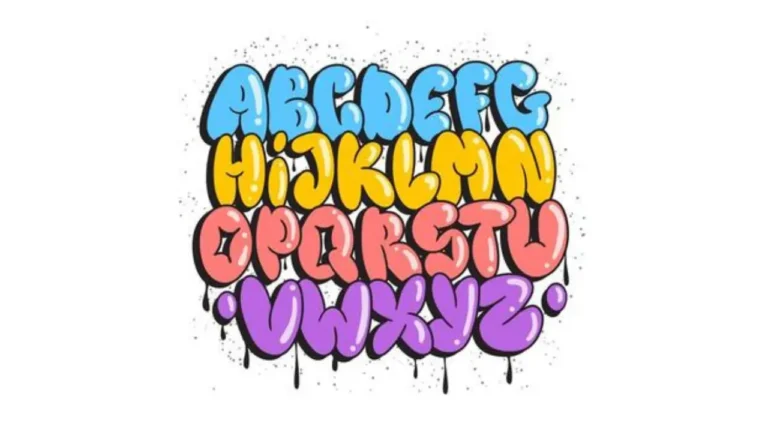
Alphabet Bubble Letters Easy Steps, Styles & Tips for Beginners
Getting the Shape of the Letter R Right
The basic structure of R includes a vertical stem, an upper curved section, and a diagonal leg. All three parts should remain easy to recognize after you make them thicker.
Avoid making the upper loop too small. A tiny loop can make the letter look crowded, especially after adding thick outlines.
The diagonal leg should also have enough space around it. Try extending it slightly outward so the lower section does not blend into the vertical stem.
How to Make Bubble Letters R Look Smooth
Smooth outlines can make bubble letters r appear cleaner and more professional. Instead of drawing one long outline quickly, use light and controlled pencil movements.
Try to keep the thickness similar around the whole letter. Some small differences are fine because handmade bubble lettering does not need perfect measurements.
If one area looks uneven, erase it and redraw the curve. Practicing the same letter several times will gradually improve your control and confidence.
Adding Color to Your Bubble R
Color can completely change the appearance of a bubble letter. You can use one bright shade for a simple design or combine several shades for a colorful effect.
For example, start with a darker shade near the bottom and gradually use lighter colors toward the top. This creates a simple gradient appearance.
You can also divide the letter into sections and give each area a different color. Rainbow combinations work especially well for children’s projects and decorative artwork.
Adding Shadows and a 3D Effect
A shadow can make bubble letters r look as if they are standing above the page. Choose one direction for the imaginary light source before drawing your shadow.
If the light comes from the upper left, place the darker shadow along the lower and right edges. Keep the shadow direction consistent across the entire letter.
For a simple 3D style, draw short lines extending from one side of the letter. Connect these lines and fill the new area with a slightly darker shade.
Adding small white highlights can improve the inflated effect. A few curved white marks near the top can make the letter appear shiny.
Creative Ideas for Decorating a Bubble R
There are many ways to personalize your bubble letter after completing its basic outline. You can fill the inside with dots, stars, hearts, stripes, waves, or geometric shapes.
Nature-inspired designs can include flowers, leaves, clouds, or small vines. You can also use flames, lightning bolts, checkerboard patterns, or cartoon faces for a stronger style.
Try matching the decorations to the word or project. For example, an R used in a rainbow-themed poster could include colorful stripes and cloud details.
Uppercase and Lowercase Bubble R
Most beginners start with an uppercase R because its shape is easier to recognize. The straight stem provides a clear base for the rounded upper section and diagonal leg.
A lowercase bubble r usually has a simpler structure. You can create it by drawing a thick vertical stroke and adding a small rounded curve near the top.
Both styles can work well together. Practicing uppercase and lowercase forms can also help you create full words using the same lettering style.
Common Mistakes When Drawing Bubble Letters R
One common mistake with bubble letters r is making the outline too thin. Bubble lettering needs enough thickness to create its soft and rounded appearance.
Another mistake is using too many sharp corners. Smooth curves usually create a better bubble effect, especially around the upper part of R.
Beginners may also add too many decorations before fixing the basic shape. Finish the outline first, then add colors, shadows, patterns, and other details.
How to Practice Bubble Lettering
Regular practice is the easiest way to improve your bubble lettering skills. Draw the same letter several times and experiment with different widths, heights, and curves.
You can also write short words that begin with R, such as Rain, Rose, Rock, or Rocket. This helps you understand how the bubble R looks beside other letters.
Keep some of your earlier drawings instead of throwing them away. Comparing old and new work can show how your line control and letter shapes improve over time.
Using Bubble R Designs in Projects
Bubble lettering can be useful for school assignments, classroom displays, handmade cards, birthday signs, notebook covers, and creative posters. Large letters make headings easier to notice.
Digital artists can use the same basic drawing method on tablets and computers. Drawing apps often make it easier to test colors, resize letters, and correct uneven lines.
You can also combine bubble lettering with doodles or illustrations. A large R surrounded by themed drawings can become the main feature of an entire page.
Tips for Creating Better Bubble Letters R
When practicing bubble letters r, focus on the overall shape before adding small details. A strong outline makes the final design easier to decorate.
Use light pencil marks during the first stage. Dark lines are harder to erase and may remain visible under markers or colored pencils.
Do not worry about making every letter perfectly symmetrical. Small differences can give hand-drawn lettering its own personality and style.
Final Thoughts
Drawing bubble letters r becomes much easier once you understand the basic structure of the letter. Start with a simple R, build a thick rounded outline, erase your guide, and then add color or decoration.
With regular practice, you can create many different styles, from simple classroom lettering to colorful 3D designs. Experiment with shapes, shadows, patterns, and themes until you find a bubble R style that fits your artwork.