A in Bubble Letters Easy Step-by-Step Guide for Beginners
If you love fun lettering styles, learning how to draw A in bubble letters is a great place to start. Bubble letter look soft, round, and playful. People use them in posters, school projects, graffiti art, and social media designs. The best part is that anyone can learn them, even beginners.
You Need To Know: How to Draw E in Bubble Letters Step by Step for Beginners
In this guide, you will understand what bubble letters are, how to draw the letter A step by step, and how to improve your style with shading and decoration. The goal is simple: help you create clean and attractive bubble lettering without wasting time.
What Are Bubble Letters?
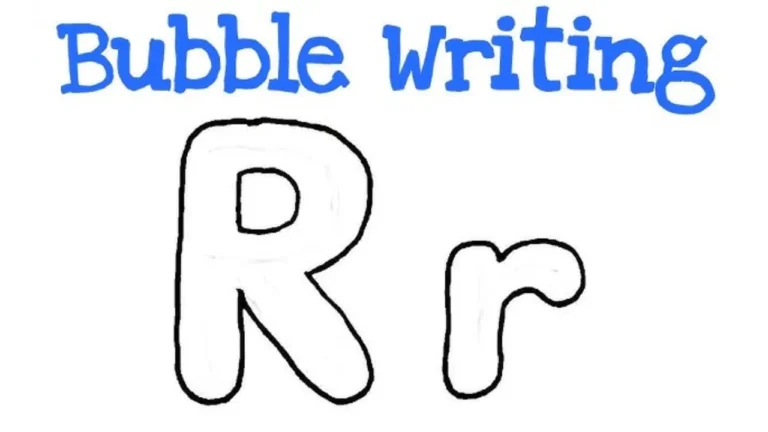
Bubble letter are a type of lettering style where each letter looks puffy and rounded, like a bubble. The edges are smooth instead of sharp. This makes them easy to draw and visually appealing.
Unlike normal handwriting, bubble letter focus more on shape than speed. They are popular in:
- Kids’ drawing activities
- Graffiti and street art
- Posters and banners
- Social media graphics
Why Learn A in Bubble Letters?
Learning one letter is enough to understand the full style. The letter “A” is perfect because it includes curves, angles, and structure. Once you master it, you can easily draw other letters.
Here are a few reasons why this skill is useful:
| Benefit | Explanation |
|---|---|
| Easy to learn | You don’t need advanced drawing skills |
| Creative freedom | You can add colors, patterns, and effects |
| Useful for design | Great for posters, logos, and titles |
| Fun activity | Helps reduce stress and improves focus |
Step-by-Step Guide
Now let’s get straight to the process. Follow these steps carefully to draw a clean and balanced bubble letter A.
Step 1: Draw the Basic Shape
Start by sketching a simple capital “A”. Keep it light because you will trace over it later. Make sure the lines are not too thin or too thick.
This step gives you a structure to follow.
Step 2: Add Thickness
Now draw another line around your “A”. Keep some space between the original and outer line. This space creates the “bubble” effect.
Focus on:
- Rounded edges
- Equal spacing
- Smooth curves
Step 3: Round the Corners
Bubble letter should never have sharp edges. So, soften all corners of the letter. Turn straight angles into curved lines.
This step is very important because it gives the letter its soft, inflated look.
Step 4: Clean the Outline
Erase the inner sketch lines. Keep only the outer thick outline. Now your letter should look bold and clear.
Make sure the outline is smooth and even.
Step 5: Add Details
Now you can make your design more interesting. You can add:
- Inner lines for depth
- Small highlights
- Shadow effects
This is where your creativity comes in.
Step 6: Color Your Letter
Use bright colors to fill your bubble letter. You can also use gradients for a modern look.
A colored A in bubble letter always looks more attractive than a plain one.
Common Mistakes to Avoid
Many beginners make small mistakes that ruin the final look. Avoid these to improve your results quickly.
| Mistake | Why It’s a Problem | Solution |
|---|---|---|
| Uneven spacing | Makes the letter look messy | Keep equal gaps while outlining |
| Sharp edges | Breaks the bubble effect | Always round corners |
| Too much detail | Makes it confusing | Keep it simple first |
| Thin outlines | Reduces impact | Use bold lines |
Different Styles of Bubble Letter A
Once you learn the basic style, you can try different variations. This helps you build your own unique look.
Classic Bubble Style
This is the basic rounded version. It looks simple and clean. Beginners should start here.
Graffiti Style
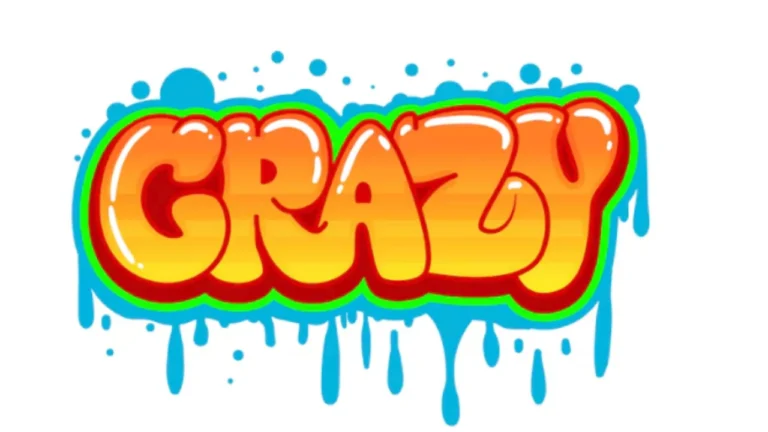
This style looks bold and expressive. Artists often add shadows, arrows, and extra shapes.
3D Bubble Letters
You can add depth by drawing a shadow behind the letter. This creates a 3D effect.
Decorative Style
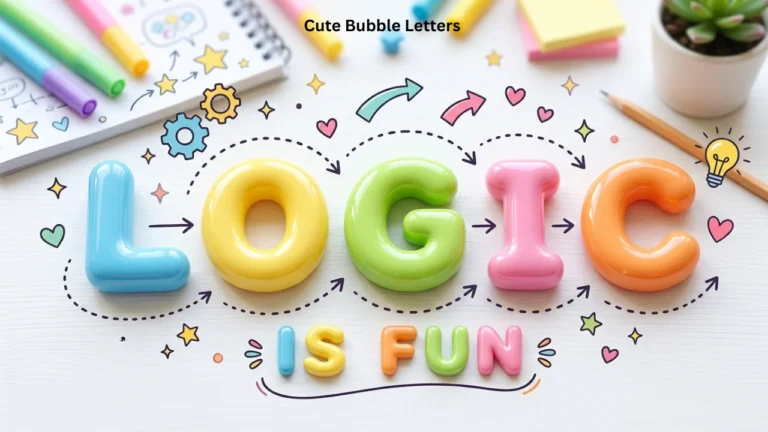
In this style, you add patterns like dots, stripes, or stars inside the letter.
Trying different styles will make your A in bubble letters more creative and unique.
Tools You Can Use
You don’t need expensive tools to get started. Simple materials work fine.
| Tool | Purpose |
|---|---|
| Pencil | For sketching |
| Eraser | For corrections |
| Black marker | For bold outlines |
| Color pencils or markers | For filling colors |
| Paper or sketchbook | For practice |
Digital tools like drawing apps also work well if you prefer designing on a screen.
Tips to Improve Your Bubble Letter Skills
Improvement comes with practice, but smart practice saves time. Follow these tips to get better quickly.
Practice daily even if it’s just for 10 minutes
Start simple before trying complex designs
Focus on shapes, not just letters
Observe other designs for inspiration
Use guidelines to maintain balance
When you repeat the process, drawing A in bubble letter becomes faster and smoother.
How to Make Your Letter Stand Out
If you want your design to look professional, you need to add finishing touches.
Add Shadows
Draw a shadow on one side of the letter. This gives it a lifted look.
Use Highlights
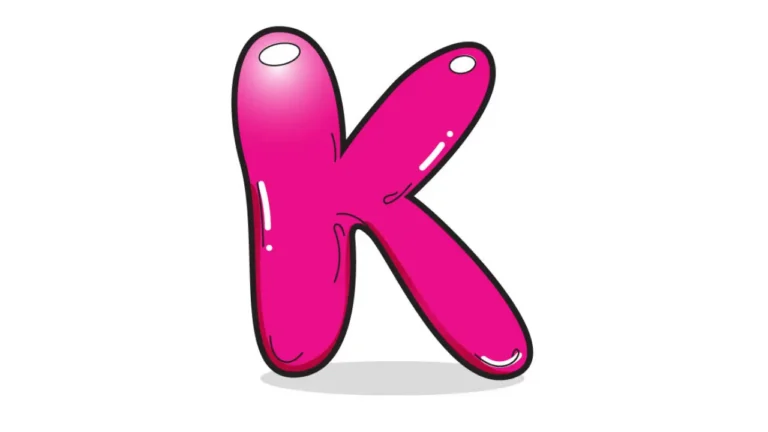
Add small white spaces to show light reflection. This makes the letter look shiny.
Try Gradients
Use two or more colors for a smooth transition. This looks modern and stylish.
Add Backgrounds
Place your letter on a colored or patterned background. It improves visibility.
These small details turn a simple A in bubble letter into an impressive design.
Practical Uses of Bubble Letter A
This skill is not just for fun. You can use it in many real situations.
| Use Case | Example |
|---|---|
| School projects | Titles and headings |
| Posters | Event announcements |
| Social media | Creative posts |
| Art practice | Sketchbooks and designs |
| DIY crafts | Cards and decorations |
People love bold and creative text, so bubble letter always attract attention.
How Long Does It Take to Learn?
Most beginners can learn the basics in one day. But mastering the style takes practice.
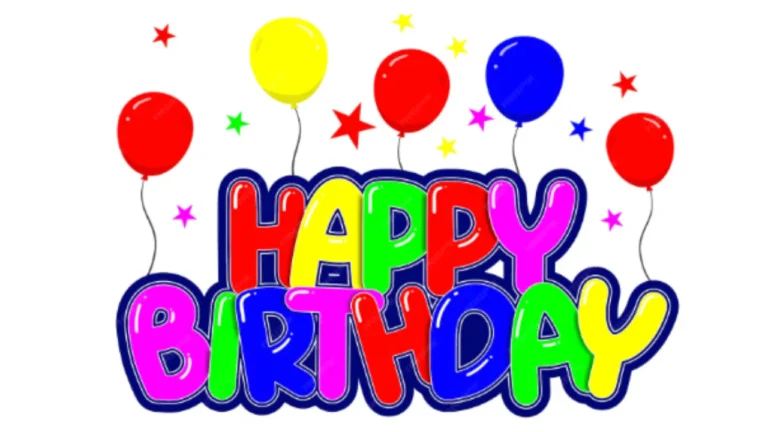
You Need To Know: Happy Birthday Bubble Letters Make Your Wishes Pop with Style
Here is a simple learning timeline:
| Time | Skill Level |
|---|---|
| 1 day | Basic understanding |
| 1 week | Clean outlines |
| 2–3 weeks | Adding styles and effects |
| 1 month | Confident drawing |
Final Thoughts
Learning how to draw A in bubble letters is simple, fun, and useful. You don’t need special skills or tools to get started. Just follow the steps, practice regularly, and focus on clean shapes.
Start with a basic outline, add thickness, round the edges, and then decorate your letter. Avoid common mistakes and try different styles to build your creativity.
With time, you will not only master this letter but also create full words and designs. Keep practicing, stay patient, and enjoy the process.