O in Bubble Letters Step-by-Step Guide for Beginners
The art of drawing o in bubble letters is simple, fun, and creative. Many beginners start with this letter because it has a round shape that is easy to design. You can use it for school projects, posters, logos, and even social media art.
Learning how to draw o in bubble letter helps you understand the basics of bubble writing. It builds your confidence and improves your lettering skills fast.
Also Check: Happy Birthday Bubble Letters
What Are Bubble Letters?
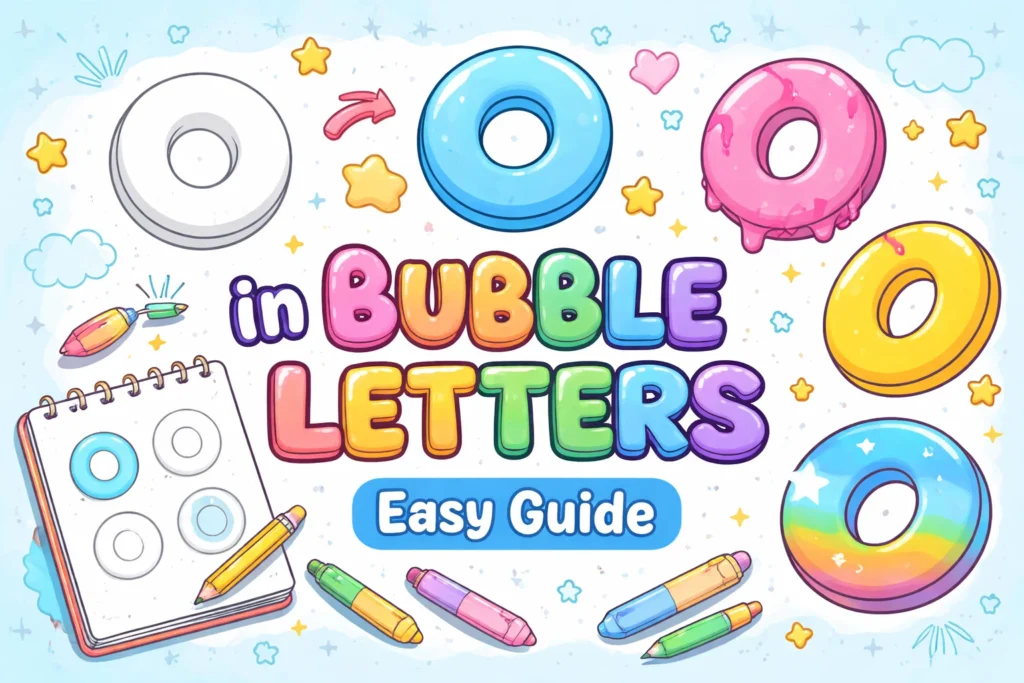
Bubble letters are a style of writing where each letter looks soft, round, and bold. These letters often look like they are made of bubbles. They are thick, smooth, and playful in appearance.
When you draw o in bubble letters, you focus on making the shape big, rounded, and eye-catching. This style is popular in graffiti, kids’ art, and decorative writing.
Why Start With o in Bubble Letters
The letter “O” is one of the easiest letters to learn. It has no sharp edges or corners. This makes it perfect for beginners who want to practice bubble lettering.
When you master o in bubble letter, you can easily move on to other letters. The same round technique works for letters like C, Q, and G.
Step-by-Step Guide
Drawing o in bubble letter is simple when you follow clear steps. Start with a light pencil so you can fix mistakes easily.
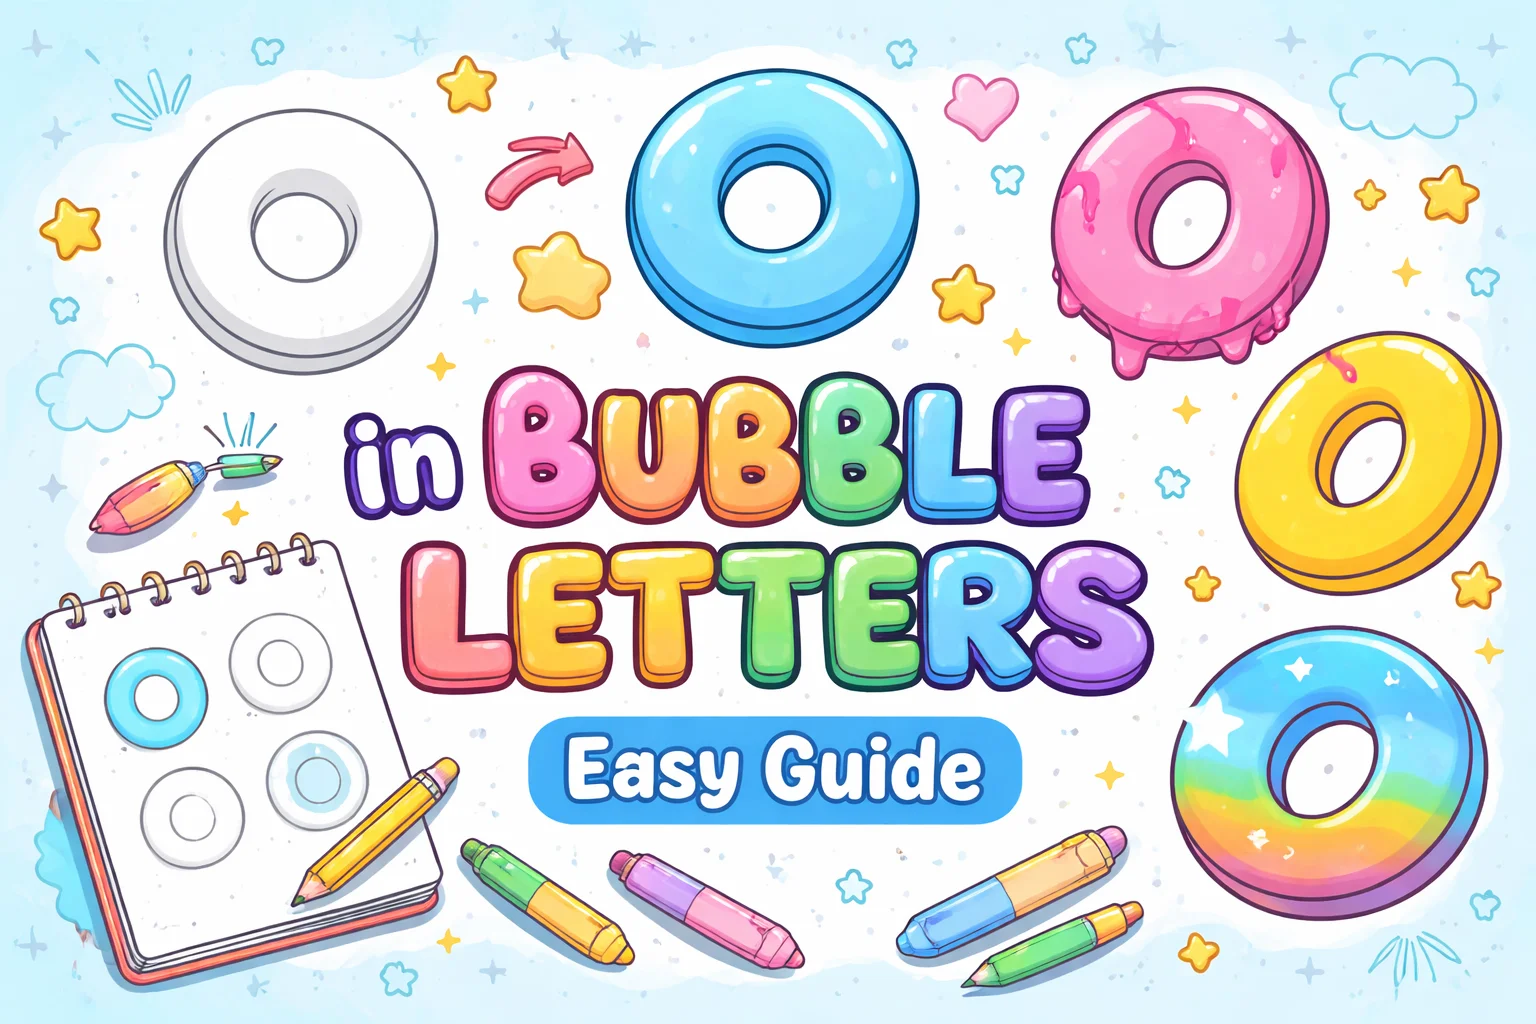
First, draw a big circle as your base shape. Then draw another smaller circle inside it to create thickness. Next, smooth the edges to make them look soft and round. Finally, trace the shape with a marker and erase extra lines.
This simple method helps you create clean and bold bubble letters every time.
Common Styles
| Style Type | Description | Best Use |
|---|---|---|
| Classic Bubble | Smooth and round shape | School work |
| Graffiti Style | Bold and edgy look | Street art |
| 3D Bubble | Shadow and depth added | Posters |
| Cartoon Bubble | Fun and playful design | Kids art |
| Decorative Bubble | Patterns inside letter | Creative projects |
Tips to Improve Your Skills
Practice is the key to mastering bubble letters. Always start with simple shapes and slowly add details.
Use light strokes at first and then go over them with a darker pen. This helps you avoid mistakes and improves your control.
Keep your lines smooth and round when drawing o bubble letter. Avoid sharp edges because they break the bubble effect.
How to Add 3D Effects
Adding a 3D effect makes your letter stand out more. Start by choosing one side for the shadow. Then draw lines extending from the edges of your letter.
Fill the shadow area with a darker colour. This creates depth and makes your o bubble letter look more professional.
You can also add highlights using white space to give a shiny look.
Colour Ideas
Colour plays an important role in making your bubble letters attractive. Bright colours like red, blue, and yellow make your design pop.
You can also use gradients to blend two colors together. This adds a smooth and modern effect to your o bubble letter.
Try adding outlines in black or white to make the letter stand out more.
Creative Uses
You can use o bubble letter in many creative ways. It works well for posters, banners, and greeting cards.
Students often use bubble letters for school projects because they look neat and fun. Designers use them for logos and branding.
This simple letter can turn any plain design into something eye-catching.
Mistakes to Avoid
Many beginners make small mistakes when drawing bubble letters. One common mistake is making lines too thin. Bubble letters should always look thick and bold.
Another mistake is uneven spacing. Keep your shapes balanced when drawing o bubble letter.
Avoid rushing your work because it can make your lines messy and unclear.
Practice Exercises for Beginners
You can improve your skills with simple exercises. Draw the letter “O” again and again using different sizes.
Try adding patterns like dots, stripes, or stars inside your o in bubble letters. This helps you explore your creativity.
Practice shading and coloring to make your designs more interesting.
Advanced Techniques for Better Results
Once you learn the basics, you can try advanced techniques. Add shadows, highlights, and textures to your letters.
Use digital tools if you want to create designs on a computer. Many apps allow you to draw o bubble letter with ease.
Combining hand drawing and digital editing gives the best results.
| Material | Purpose |
|---|---|
| Pencil | Sketch base shape |
| Eraser | Fix mistakes |
| Marker | Outline letter |
| Colored Pens | Add color |
| Paper | Drawing surface |
How Kids Can Learn
Kids enjoy drawing because it feels like play. Bubble letters are perfect for children because they are simple and fun.
Start by teaching them to draw a circle. Then guide them to turn it into o bubble letter.
Encourage them to use bright colours and patterns to make learning exciting.
Benefits of Learning Bubble Letter Art
Learning bubble letters improves creativity and focus. It helps you develop better hand control and drawing skills.
When you practice O bubble letter, you also learn patience and attention to detail.
This skill can be useful for art, design, and even personal projects.
Also Check: Cursive Bubble Letters
Conclusion
Drawing o in bubble letters is a simple yet powerful way to explore creativity. It is easy to learn and fun to practice for beginners and kids. With regular practice, you can create bold and attractive designs that stand out.
Focus on smooth shapes, proper spacing, and creative colouring to improve your skills. Keep experimenting with styles and effects to make your work unique. Once you master this letter, you will find it easier to draw other bubble letters with confidence.